For system migrations i usually use REAR, which has never failed me. (and also has saved my ass during recovery multiple times). It’s an awesome utility!
It’s possible to do this using the Hetzner recovery console too, but using REAR is very convenient here, because it handles things like re-creating the partition layout and network settings automatically!
The steps are:
- Create bootable REAR rescue image on the source system.
- Register a target system in Hetzner Cloud with at least the same disk size as the source system.
- Boot the REAR image’s initrd and kernel from the running VPS system using kexec
- Make the REAR recovery console accessible via SSH (or use Hetzners console).
- Let REAR do its magic and re-partition the system.
- Restore the system data to the freshly partitioned disks
- Let REAR handle the bootloader and network re-configuration.
Example
To create a rescue image on the source system:
apt install rear
echo OUTPUT=ISO > /etc/rear/local.conf
rear mkrescue -v
[..]
Wrote ISO image: /var/lib/rear/output/rear-debian12.iso (185M)
My source system had a 128 GB disk, so i registered an instance on Hetzner cloud with greater disk size to make things easier:

Now copy the ISO image to the newly created instance and extract its data:
 apt install kexec-tools
 scp rear-debian12.iso root@49.13.193.226:/tmp/
 modprobe loop
 mount -o loop rear-debian12.iso /mnt/
 cp /mnt/isolinux/kernel /tmp/
 cp /mnt/isolinux/initrd.cgz /tmp/
Install kexec if not installed already:
apt install kexec-toolsNote down the current gateway configuration, this is required later on to make the REAR recovery console reachable via SSH:
root@testme:~# ip route
default via 172.31.1.1 dev eth0
172.31.1.1 dev eth0 scope link
Reboot the running VPS instance into the REAR recovery image using somewhat the same kernel cmdline:
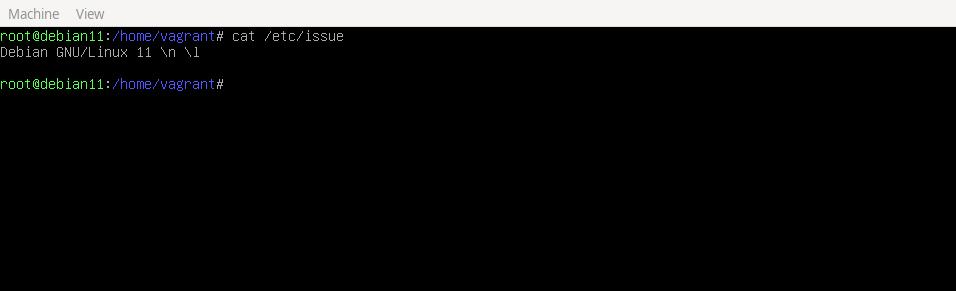
root@testme:~# cat /proc/cmdline
BOOT_IMAGE=/boot/vmlinuz-6.1.0-13-amd64 root=UUID=5174a81e-5897-47ca-8fe4-9cd19dc678c4 ro consoleblank=0 systemd.show_status=true console=tty1 console=ttyS0
kexec --initrd /tmp/initrd.cgz --command-line="consoleblank=0 systemd.show_status=true console=tty1 console=ttyS0" /tmp/kernel
Connection to 49.13.193.226 closed by remote host.
Connection to 49.13.193.226 closed
Now watch the system on the Console booting into the REAR system:
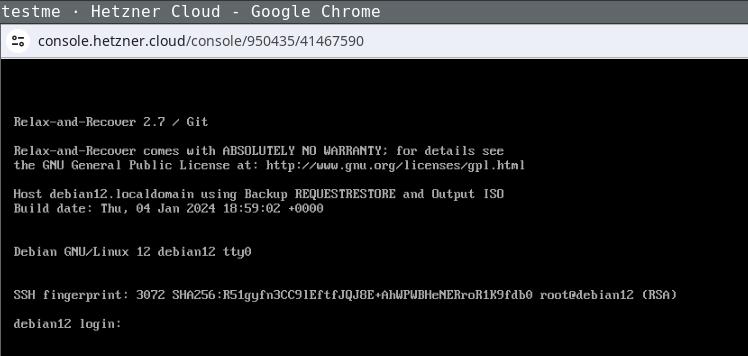
Login the recovery console (root without password) and fix its default route to make it reachable:
ip addr
[..]
2: enp1s0
..
$ ip route add 172.31.1.1 dev enp1s0
$ ip route add default via 172.31.1.1

ping 49.13.193.226
64 bytes from 49.13.193.226: icmp_seq=83 ttl=52 time=27.7 ms
The network configuration might differ, the source system in this example used DHCP, as the target does. If REAR detects changed static network configuration it guides you through the setup pretty nicely.
Login via SSH (REAR will store your ssh public keys in the image) and start the recovery process, follow the steps as suggested by REAR:
ssh -l root 49.13.193.226
Welcome to Relax-and-Recover. Run "rear recover" to restore your system !

RESCUE debian12:~ # rear recover
Relax-and-Recover 2.7 / Git
Running rear recover (PID 673 date 2024-01-04 19:20:22)
Using log file: /var/log/rear/rear-debian12.log
Running workflow recover within the ReaR rescue/recovery system
Will do driver migration (recreating initramfs/initrd)
Comparing disks
Device vda does not exist (manual configuration needed)
Switching to manual disk layout configuration (GiB sizes rounded down to integer)
/dev/vda had size 137438953472 (128 GiB) but it does no longer exist
/dev/sda was not used on the original system and has now 163842097152 (152 GiB)
Original disk /dev/vda does not exist (with same size) in the target system
Using /dev/sda (the only available of the disks) for recreating /dev/vda
Current disk mapping table (source => target):
  /dev/vda => /dev/sda

Confirm or edit the disk mapping
1) Confirm disk mapping and continue 'rear recover'
[..]
User confirmed recreated disk layout
[..]
This step re-recreates your original disk layout and mounts it to /mnt/local/ (this example uses a pretty lame layout, but usually REAR will handle things like lvm/btrfs just nicely):
mount
/dev/sda3 on /mnt/local type ext4 (rw,relatime,errors=remount-ro)
/dev/sda1 on /mnt/local/boot type ext4 (rw,relatime)
Now clone your source systems data to /mnt/local/ with whatever utility you like to use and exit the recovery step. After confirming everything went well, REAR will setup the bootloader (and all other config details like fstab entries and adjusted network configuration) for you as required:
rear> exit
Did you restore the backup to /mnt/local ? Are you ready to continue recovery ? yes
User confirmed restored files
Updated initramfs with new drivers for this system.
Skip installing GRUB Legacy boot loader because GRUB 2 is installed (grub-probe or grub2-probe exist).
Installing GRUB2 boot loader...
Determining where to install GRUB2 (no GRUB2_INSTALL_DEVICES specified)
Found possible boot disk /dev/sda - installing GRUB2 there
Finished 'recover'. The target system is mounted at '/mnt/local'.
Exiting rear recover (PID 7103) and its descendant processes ...
Running exit tasks
Now reboot the recovery console and watch it boot into your target systems configuration:
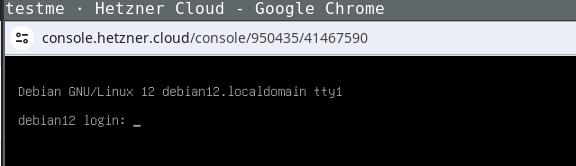
Being able to use this procedure for complete disaster recovery within Hetzner cloud VPS (using off-site backups) gives me a better feeling, too.
]]>